
Hi again! I had plans today to take my boys for a haircut but the weather didn't agree with me. It has been raining all morning and not just a light drizzle either. It's pouring and the water is puddling around the yard. So we decided to stay in and make our traditional ornaments that I'll share another day.
Today, I want to share the treats I made for my boys' classmates. My daughter doesn't pass out class treats anymore but just a handful of gifts to close friends. They all got calendars this year! While I was looking for simple crafts to do with my youngest one's class, I came across candy cane mice. I'd never seen them before and my boys loved them. Of course, because they like rodents. I wasn't too sure if girls would like them but I thought since it is their treats to give I would let the boys decide. There are tons of templates online. I used this one HERE and found a cute poem HERE.
 If I had oval or egg shaped dies, I would've just used that but I don't so I ended up finding a circle die that was close in size to the template. I cut out all the felt circles and then used the template to trim the excess off. I sewed 2 pieces of felt together and left a small opening for the candy cane. Because I used 2 layers for the body, I didn't cut out the 2nd pair of notches shown on the template. I like the way this looks better. If you want to just make one layer then you would need that 2nd pair of notches to hold the candy cane in place. You can also make these out of paper too. I sewed on the inner ears to the big ears also. My boys helped with sliding the ears through the cut openings. Then I did the hot gluing of the eyes and pom pom nose.
 My youngest one wanted the mice bodies and ears to be mismatching. Kind of more whimsical, I suppose. He was able to put all the candy canes into the felt bodies.
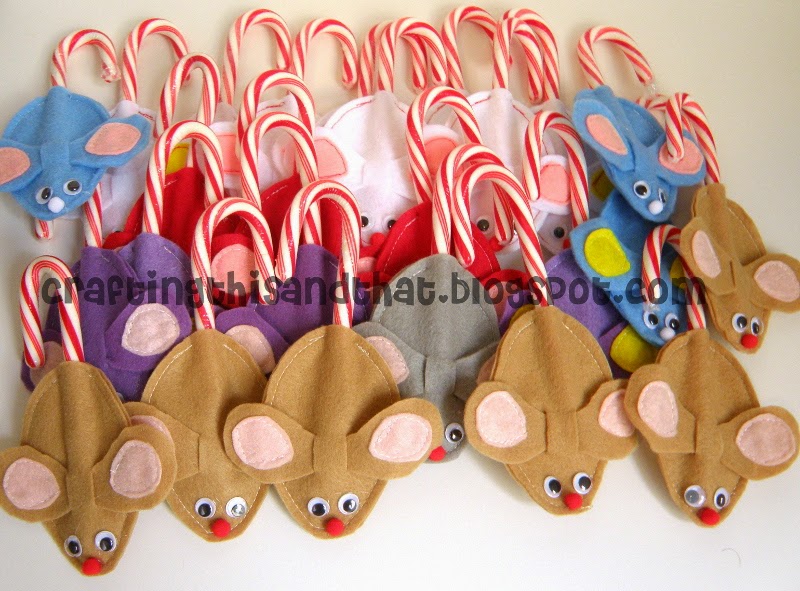 My older boy wanted all matching bodies and ears. I ended up making 45 mice. I started early so I didn't have to rush. Sewing them was fairly quick too. They hang nicely too on the tree. Just have to make sure the hole for the candy cane isn't too loose or the mouse will slide off. After Xmas, these felt mice might look cute on pencils.
 I packed them all in clear bags and tied the poem around with yarn. I love using yarn to pack up goodie bags. My boys said their classmates loved them especially the younger ones. I'm glad they thought the mice were cute.
Thanks so much for stopping by today!

Today, I want to share the treats I made for my boys' classmates. My daughter doesn't pass out class treats anymore but just a handful of gifts to close friends. They all got calendars this year! While I was looking for simple crafts to do with my youngest one's class, I came across candy cane mice. I'd never seen them before and my boys loved them. Of course, because they like rodents. I wasn't too sure if girls would like them but I thought since it is their treats to give I would let the boys decide. There are tons of templates online. I used this one HERE and found a cute poem HERE.
Thanks so much for stopping by today!
Comments
These are awesome!! I bet the kids love them!!