
Princess!
Hi! That princess would be our daughter. I used her one year old studio photo (taken by Owen & Owen Photography) for TGF's Royalty Contest Week 3. It's a sketch challenge.
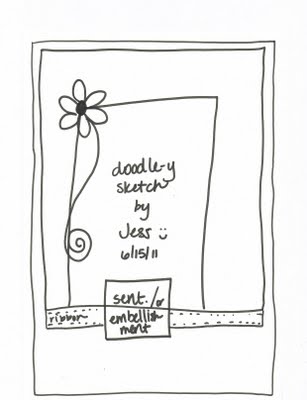
 But I thought I'd use the sketch as a layout for a scrapbook page. I had to stretch it a bit since my page is 12x12.
 My mom bought that cute little princess dress for her and most of the baby jewelry she is wearing in the photo. I love that dress. I still have it.
 I thought Princess Anya #3's dress was really similar to my daughter's one with the bow on the front and decided to use her. I recently bought all the princesses including the original one. Yes, I didn't have that one yet but when the 2 new ones came out, I had to get them all! Sigh, they are so adorable! I added rhinestones (that I colored with my copic marker) to her crown and stickles on her dress.
 I printed her name out and added all the rhinestones around it, not individually though. That would have been tedious but used the ones that are all linked together and just wrapped it around. I colored these rhinestones too.
 This is my handmade bow embellishment. I used some sterling silver chain and beads from my jewelry stash. The tags are PTI's Tiny Tags dies.
 Closer up. I haven't made jewelry in a while and I had a hard time wrapping the wire. It takes some practice.
 I love this part the most. I had made this ring years ago as a pendant but never got around to giving it away so I used it as a ring for the ribbon. It is a sterling silver ring that I wrapped with SS wire and Swarovski beads. Added a stick pin here and on the ends of the ribbon below the photo of my daughter.
It's hard to believe my daughter will be 10 this year. That was fast. Another 10 years and she'll be grown up already!
Also entering this in Paper Sundaes Challenge #73--Girly Girl.
Thanks for reading and have a great weekend!

Hi! That princess would be our daughter. I used her one year old studio photo (taken by Owen & Owen Photography) for TGF's Royalty Contest Week 3. It's a sketch challenge.


It's hard to believe my daughter will be 10 this year. That was fast. Another 10 years and she'll be grown up already!
Also entering this in Paper Sundaes Challenge #73--Girly Girl.
Thanks for reading and have a great weekend!

Comments
hugs
Doreen