
Hi! I made a boy version of the thanks a latte project I posted earlier HERE. And in the process, I did a little tutorial. If there's a question, just leave me a comment.
 First, cut a piece of cardstock to 6 x 11 inches.
 With cardstock like above, score cardstock at 1.5 inches and then at 4.5 inches from the left.
 Turn cardstock like above and score at 1.5 inches and 4.5 inches. You'll also need to score at 6 inches but just til the score line you made in the above step, not all the way down. You can rotate your cardstock to make the other short score line at 5 inches. Hope that makes sense.
 Fold at the score lines and cut like above.
 Tape the top section. These flaps will meet in the middle. If you prefer not to see the seam you could fold it the other way and tape in the back.
 How it looks taped.
 I used an oval nestability to cut a small handle. You can use just about any shape that fits. I used a bit of removable tape to hold it in place. You can also do this step before taping the flaps since sometimes it's hard to cut through all of the layers. I'm using PTI cardstock and could cut through it all including my scor tape. I also don't run the piece all the way through. I run it til I hear/feel it cut and then reverse it back out.
 Then tape the other flaps like above.
 Tape together. Almost done.
 I cut a piece of 6mm fun foam to 3 x 3 inches for the base of the caddy. You can just use your scissors.
 Find the right size circle die that matches the diameter of the bottom of your cup. It may be a bit snug but fun foam stretches so it should be okay.
 Fun foam is easy to cut with dies.
 Fit your cup into the hole. I found these cups at Walmart. Twelve 9 oz cups for 97 cents! I don't think a cup larger/taller than 9 oz would fit this caddy nicely. But you can always experiment and alter the measurements to fit the cup you have. These cups come in all different colors in the party section at Walmart. They may even be cheaper in your area since everything where I live is inflated. These cups are little bit bigger than the one I used in my previous post. They are a bit wider at the top and bottom but still fit into the same size hole of the fun foam. It may be easier to fit the cup into the foam first and then place the whole thing into the caddy. If you need to, you can trim the size of the foam just a bit to fit the caddy better. My foam was pushing the sides of the caddy a bit but I just left it as is.
 Then decorate as you like!
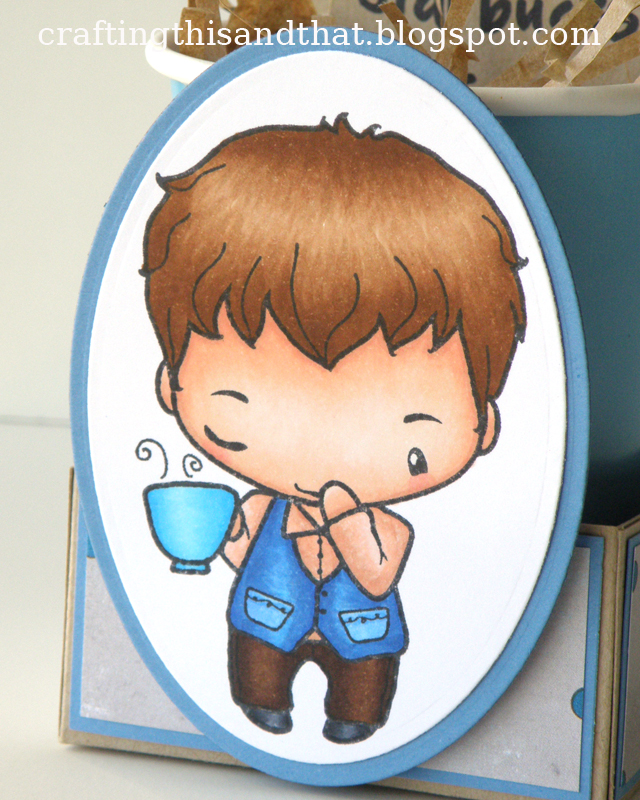
 I used The Greeting Farm's Cafe Ian. I popped the ovals onto dimensionals so there would be a little bit of space between the top of the cup and Cafe Ian.
 Printed the sentiment out in blue and actually placed it in the handle for a different look. Then I added a latte with a mini clothespin.
I made these to put Starbucks gift cards into but you can use them for any occasion even Easter which is coming up quickly! And you could also just decorate the cup and not place any image on the caddy itself. Lots of possibilities!
I'll be entering this into TGF's Monday Funday #26 -- Anything Goes and Ribbon Carousel Challenge 46 -- Anything Goes.
Thanks for reading this long post!

Comments
Thanks for that tutorial now I can make me some for future gifts....
I have coffee Brigitta so I can use her on the front.... Tada!
Thanks a bunch..
hugs and many more hugs....
hugs
Doreen
:Dx
;)