
Hi! Someone had suggested a tutorial for the post-it easel cards I have been making in a couple of my past posts. So here it is! These easel cards feature the adorable, lovable TGF Beans!!
Let's get started cause there are a lot of photos!
 I made a couple of them! I know, they are bright! But I love them bright and cheery! Glisten Bean is on the left in purple and Shiny Bean is on the right in pink.
 Supplies:
11 x 5.25 inch cardstock
5.25 x 5.25 inch cardstock (front of your easel card that you can decorate)
4 x 4 inch cardstock (box for Post-it pad)
3 x 3 inch Post-it note pad
your favorite stamp
pens, velcro (optional)
 Score your long cardstock at 5.25 inches, 5.75 inches and 8.25 inches.
 After you fold them at the score lines, it should look like this. Place on the side.
 Next, get your 4 x 4 inch piece and score a half inch on all sides. Then punch a little semi circle on one of the sides.
 Fold, then cut the little corners to make into a box.
 It should look like this. Fit your Post-it pad into it. It will be snug.
 When you lay out all the pieces together, it should generally look like this.
 When you start decorating your card and are ready to glue/tape the front on, be sure that you only tape/glue that half of the long cardstock! See above photo. Lots of times I get so involved and excited about the final project I forget and just tape on the whole front and then can't fold open the easel card!
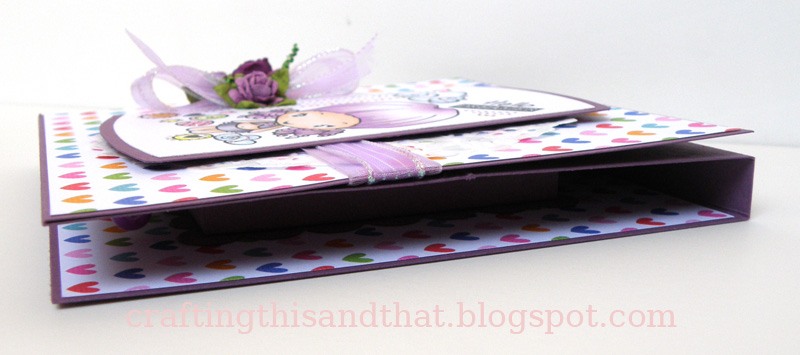
 When it's all decorated, it folds nicely like so. The finished size when the card is closed is 5.25 x 5.25 inches. You can play around with the dimensions and adjust things accordingly. It doesn't have to be this size.
 I added a matching gel pen to each card. I found these packs of gel pens at Walmart for 75 cents! I added a bit of velcro on the card and around the pen.


Let's get started cause there are a lot of photos!


11 x 5.25 inch cardstock
5.25 x 5.25 inch cardstock (front of your easel card that you can decorate)
4 x 4 inch cardstock (box for Post-it pad)
3 x 3 inch Post-it note pad
your favorite stamp
pens, velcro (optional)




Thanks for reading!

Comments
Hugs Blankina
TFS!
:Dxx
Lovely demonstration and so very easy to follow....
Love it my friend....