
Hello! Is it cold and rainy where you are? It is here and has been this whole day. It makes me want to crawl back into bed and take a nice nap! I have been feeling a little uninspired these past few days. Maybe the weather has something to do with it.
Today, I have a sympathy card to share. I had to make a few recently so I thought I'd add a couple to my shop too. It's sometimes kind of sudden when you need a sympathy card and I like the idea of giving something that is handmade instead of store bought.
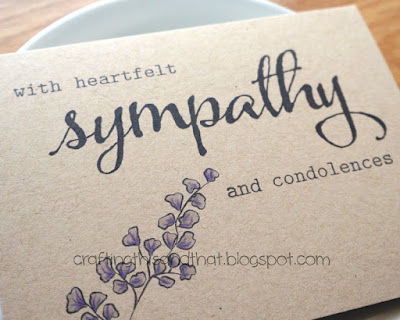 I stamped the sentiment from Winnie & Walter's the Big, Bold & Comfort. I think this is the only set you'll need when you make sympathy cards! It has literally so many word combinations you can make. Once I stamped the sentiments, I went back in with my Copic multiliner to fill in the words so that it is nice and dark.
 The floral accent is also from a Winnie & Walter set called Addie's Blooms. It is nice and simple. I colored it in with some light Copic purples and accented it darker with a Prismacolor pencil because I didn't want the marker colors to run through to the other side of the kraft cardstock.
 In the end, I like that it is simple but still very thoughtful.
Okay, hopefully I'll have more cards to share soon. I did finish one today even though I was feeling very sluggy. Haha, ever feel like that? Or is it just me?
Thanks so much for stopping by!

Today, I have a sympathy card to share. I had to make a few recently so I thought I'd add a couple to my shop too. It's sometimes kind of sudden when you need a sympathy card and I like the idea of giving something that is handmade instead of store bought.


Okay, hopefully I'll have more cards to share soon. I did finish one today even though I was feeling very sluggy. Haha, ever feel like that? Or is it just me?
Thanks so much for stopping by!

Comments