Hi! I made a little Halloween Treat House for my kids. Actually, it's not so little. It's a pretty good size especially with the roof. Does it remind you of the house from Hansel and Gretel? That is what my daughter had said. I plan to put some small toys and candy in the house for Halloween. I also made this in part for TGF's newsletter Trick-or-Treat-Tastic Contest.
So the base of the house is made from 4 of the clear plastic cases that the PTI stamp sets come in. I always wonder if I should just throw them away but then feel bad cause they could be made into something. Then I saw a tutorial Nicole Heady did with these plastic cases. See HERE. After that I started saving these again.
So I cut off the tops and taped them together like above. Yeah, you can still see the tape and it annoyed me at first like should I cover it or what? But in the end I decided to just let it go. My kids won't mind as long as there's something yummy in the box.
I covered the box with Doodlebug paper and added the scalloped border. So far all that was pretty easy. The hard part for me came next.
I needed a roof! So after about 3 or 4 tries I got the above. I did it on scratch paper first but I still messed up on the second try and wasted some paper but at least it wasn't my precious PTI cardstock. I had this black paper from a year or 2 ago. I made 2 of the above.
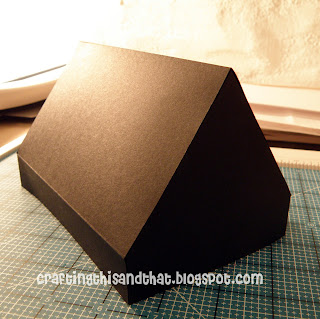
Finally a roof after taping them together. I appreciate so much more those folks (like Sunghee) that can just create all these templates.
I added some scallops to the roof.
I stamped 2 sets of these cuties. One set for this house and the other for my next project.
Taped a little card in front for the doors. Some wood embossing too from Tim Holtz on the doors. Tied the doors with black ribbon.
So when you open the doors the whole gang is there to wish you a Happy Halloween!
I like that there are separate slots so I can designate which goodies are for who. And so there won't be any fights over who gets what and maybe my little house will make it through Halloween. My kids have already seen the house but there is nothing in it yet. They are dying with anticipation to see what I put inside.
It is fall break here so I decided to stay up later than usual to post this. Glad I don't have to get up too early tomorrow. Thanks for reading and have a great day!


Comments